Planting a new tree in my yard was one of the first things I wanted to do after buying my home. It’s a great house and all, but my backyard landscape was pretty barren — a bunch of grass and not one tree!
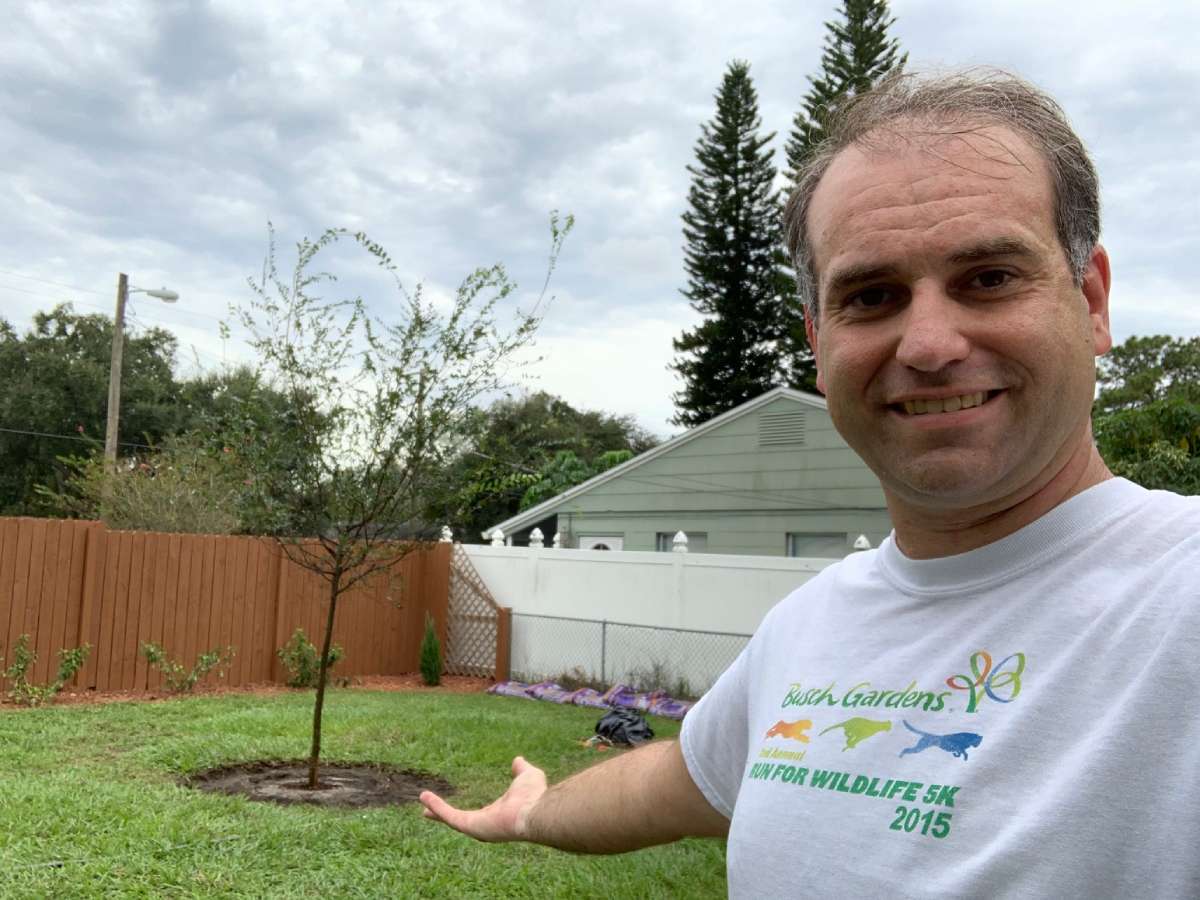
While I’m fixing that problem by planting new shrubs and flowers, my backyard still needed a new tree to anchor the landscape.
So, I bought a lacebark (or Chinese) elm tree. It’s the perfect, low-maintenance shade tree that will fill the sky above above my backyard without dwarfing my quarter-acre suburban spread.
A new tree is a great investment, too. It will:
- Bring more birds and pollinator insects into the yard
- Enhance the beauty of my landscape
- Provide more shade during the summer, helping to lower my home energy costs
- Capture CO2 and convert it into clean oxygen
- Help raise the value of the home
I paid $200 for my new, 15-foot-tall elm tree that was planted in a 30-gallon pot.
I could’ve brought it home myself from the nursery. But the thing about trees? They’re big… very big! And a 30-gallon pot is mighty heavy. Good luck getting it into your sedan if you have one. I would’ve needed more than luck to get it into mine — I would’ve needed a trailer.
And with no hitch on my car, I figured it would be cheaper (and more efficient) to just pay the $40 to have the tree delivered from the nursery to my house.
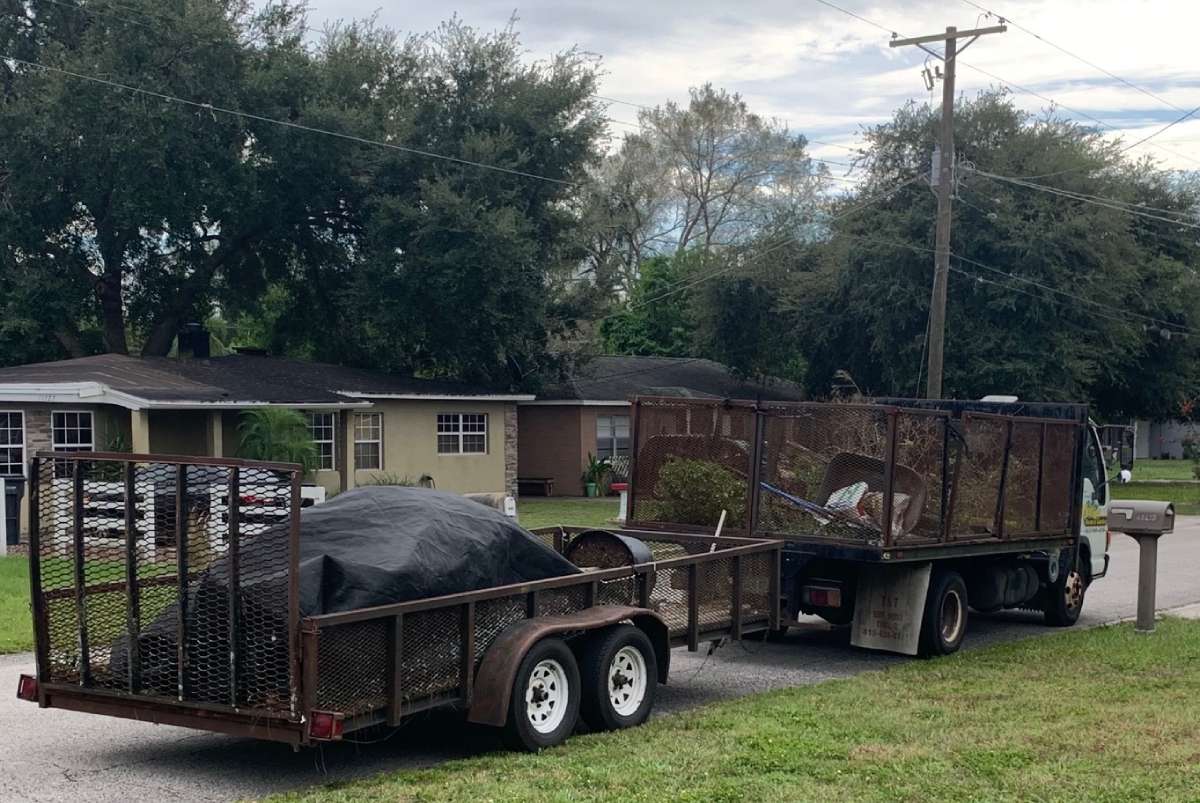
I was happy to pay the $40 to have my new tree delivered. But I declined the extra $100 to have the tree planted. Why? Because I already have a handle on how to plant trees myself, and I wanted to save the money.
Not only can planting your own tree help save you money versus having it installed professionally — but if you love getting your hands dirty in the yard as much as I do, you’ll find it a lot more fun, too!
So… how do you plant a tree?
How To Plant A Tree Step By Step
I’m going to walk you through how I planted my tree in 4 easy steps.
NOTE: This is how to plant a tree that comes in a pot. If you’re planting a bare root tree, then you’ll want to follow these tree planting tips instead.
#1 – Dig the hole.
First, you need to know the dimensions of the rootball. Plus, it’s easier if you dig the hole before the tree actually arrives.
After picking the tree out at the nursery, I determined the dimensions of the tree’s root ball with the help of one of the clerks there.
The day before my new elm tree arrived, I used those measurements to dig a hole that’s at least twice as wide as but no deeper than the rootball.
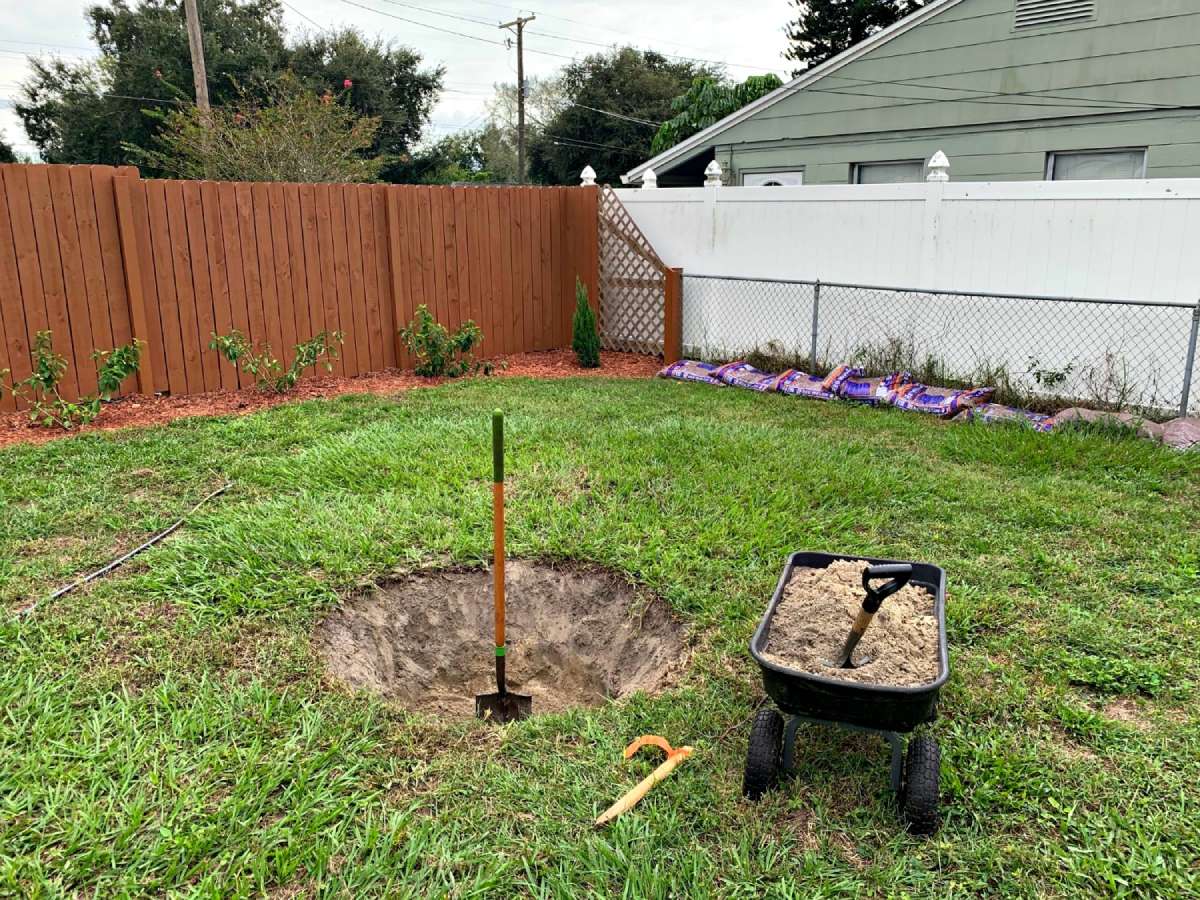
You want to give the roots room to spread out — to help establish the tree. But you don’t want to dig deeper than the tree root ball. Sitting the tree too deep into the hole can cause water to pool around the trunk, inviting a host of problems.
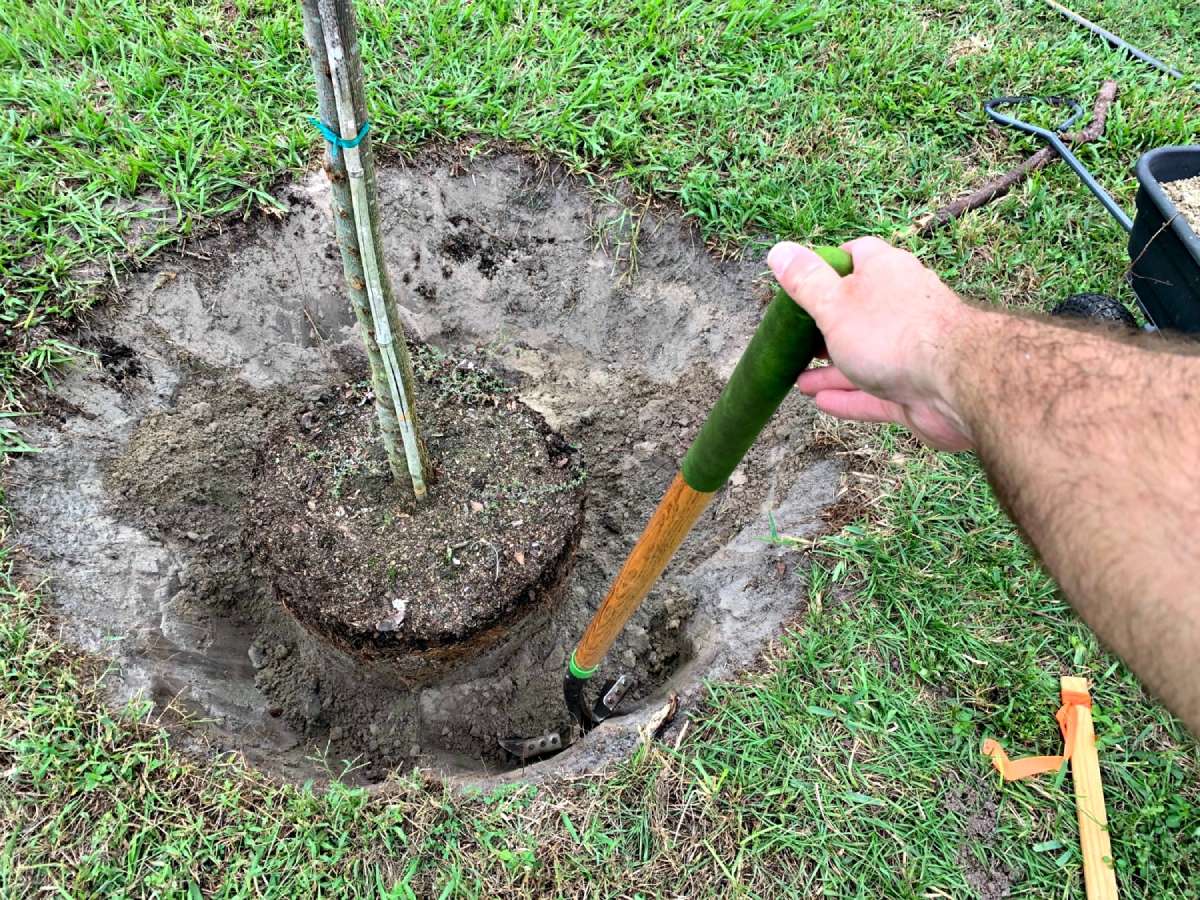
The tree delivery guy offered to help me place the tree into the hole. So he and I worked together to carefully settle the tree into the hole, ensuring that it was as vertical and straight as Mother Nature made this elm tree to be. (I also tipped the guy for his extra help.)
As you can see above, the hole really is about twice as wide as the root ball. It’s maybe even a little wider still. Perfect!
#2 – Backfill the hole with soil.
With the tree now in the hole, begin backfilling with the soil that was removed from the hole. You want to evenly fill in dirt all around the rootball.
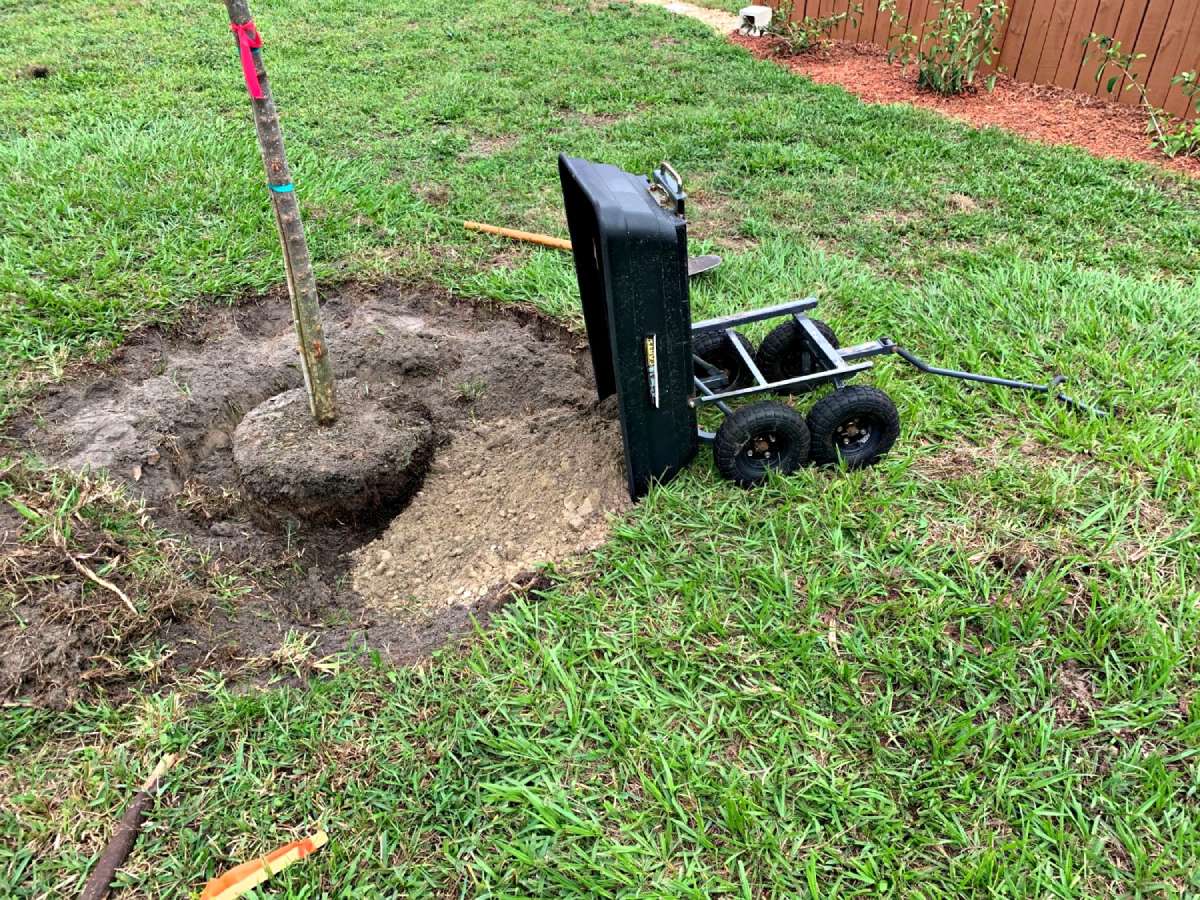
As I was backfilling the soil, I took extra time to pack in the soil around the tree root ball.
This not only helps to ensure the tree is solid in the ground and won’t tip over, but stamping the soil also eliminates air pockets. Air pockets around the rootball may hinder root growth and obstruct proper water flow.
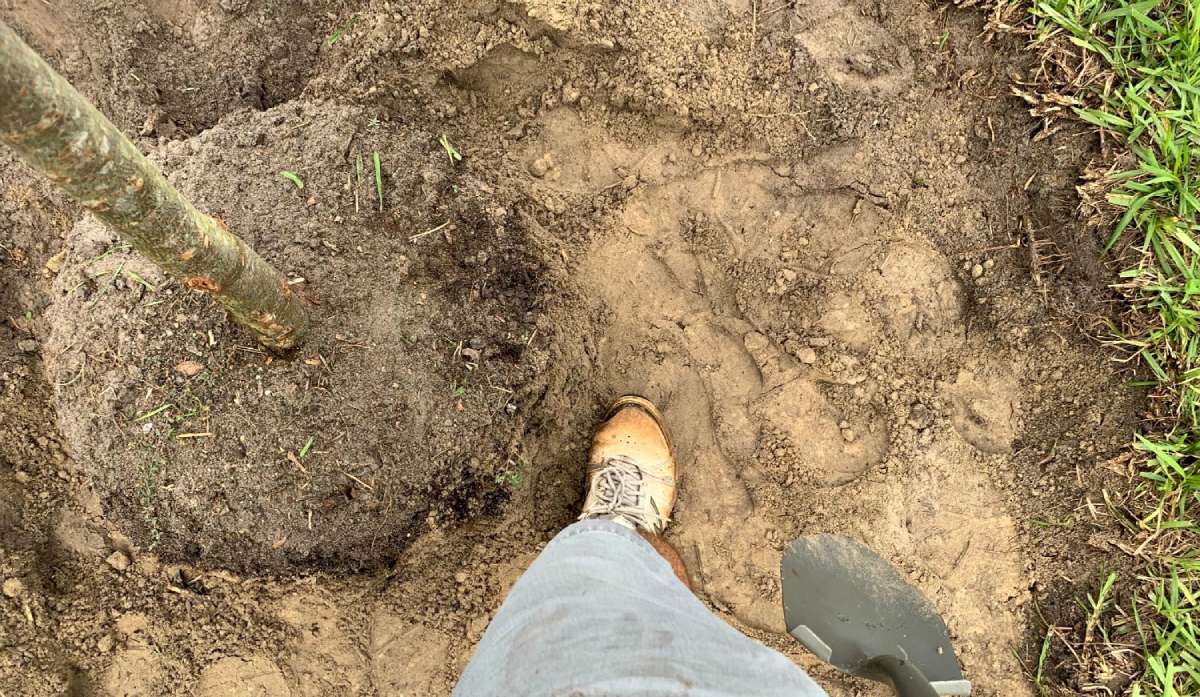
Oh, yeah… See my sneakers? These are the ones I wear for mowing the grass, painting, all that dirty stuff. Be sure to wear closed-toe shoes when you’re doing all your tree planting — and make sure you don’t mind them getting messy!
#4 – Create a small dam around the trunk.
By creating a small dam around the tree’s trunk, you’re helping to keep water closer to the root ball during the tree’s first days in the yard.
So, after backfilling the hole and compacting the soil, I created a small, ringed dam around the trunk of my new tree.
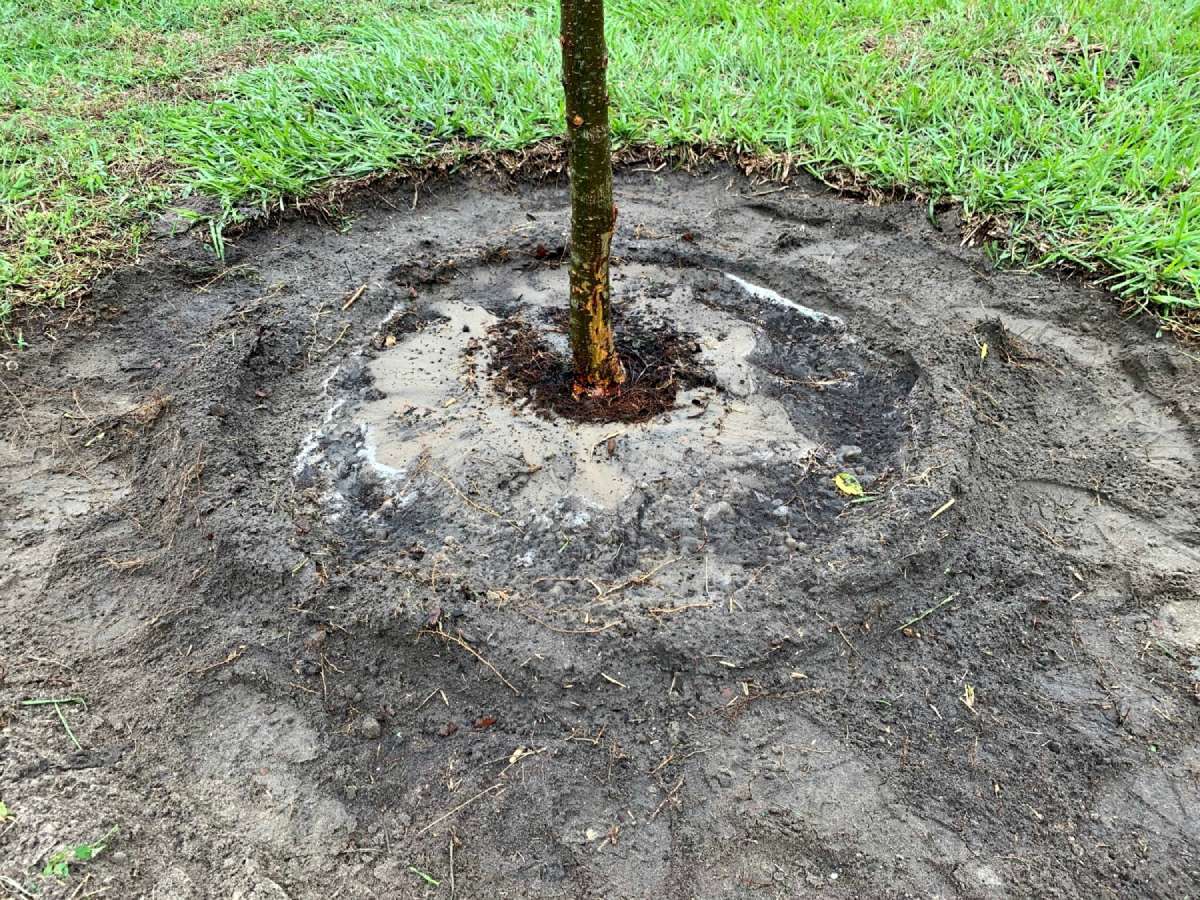
Eventually I’ll flatten the ring out and cover most of the soil with mulch. But not yet — it’s still too soon for that.
#4 – Water your new tree.
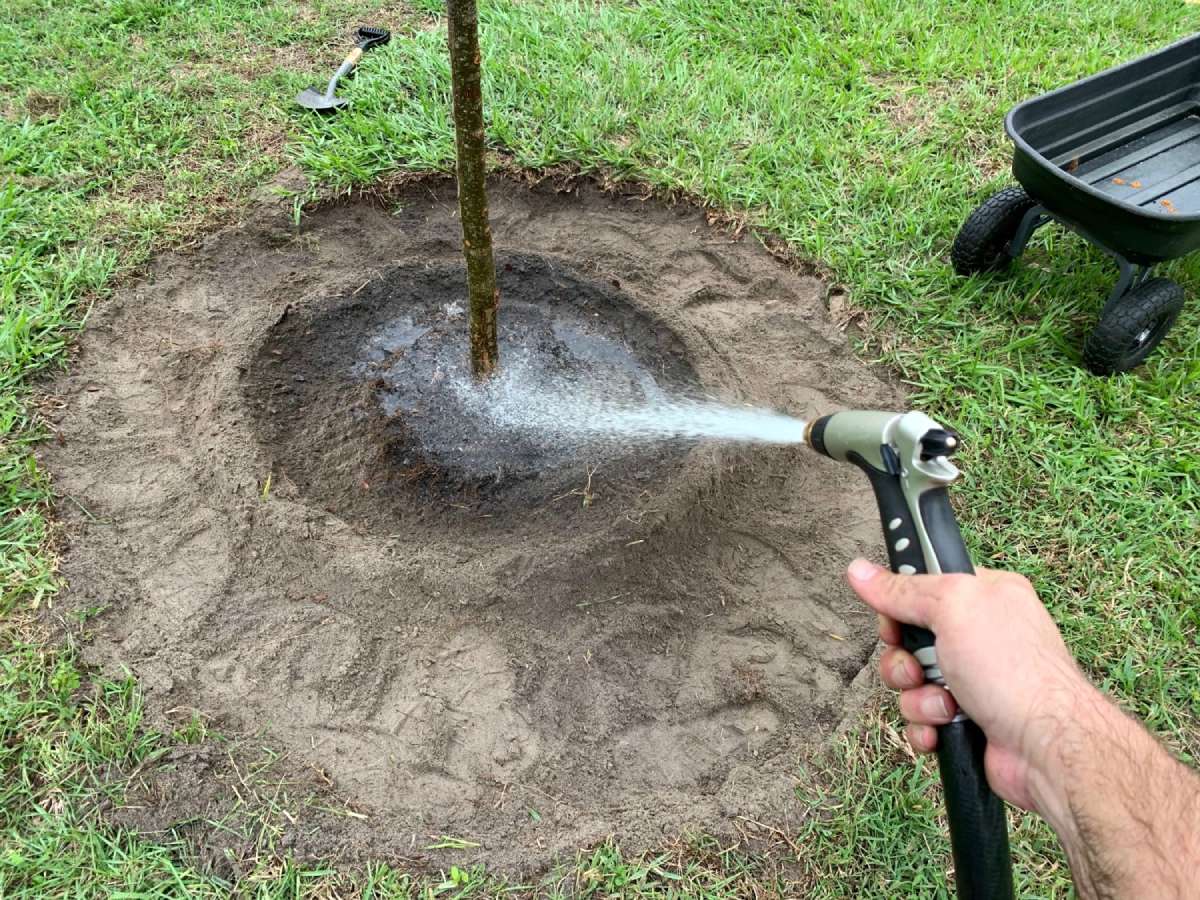
Next, you need to water the tree as soon as possible after planting it. And by water, I mean really soak it!
Be sure to let the hose run water in and around the tree root ball for several minutes. This ensures the tree has enough water to help it settle into place, receive a nice drink, and get it off to a good start in its new home.
How much water does a newly planted tree need?
You’ll want to follow the instructions given to you by the nursery — but this is a good watering regimen for a new tree:
- Water thoroughly every day for the first 2 weeks.
- Then, cut back to watering once every couple days for the next several weeks.
- Finally, water the tree once per week for the rest of the first growing season.
See how much to water a newly planted tree based on its trunk size.
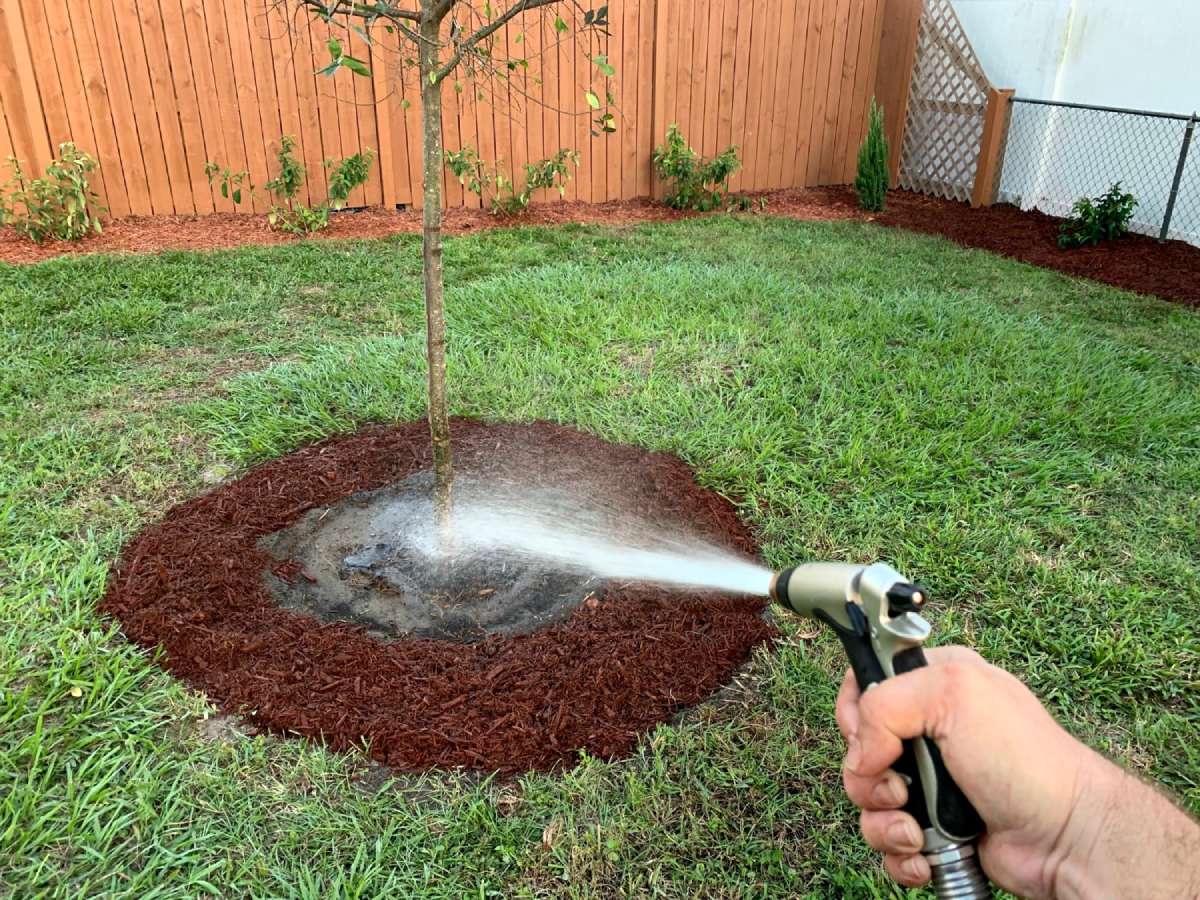
As I’m doing in this photo, you want to be sure to water your new tree directly over its rootball.
4 Helpful Tree Planting Tips & Tricks
Given enough time, your new tree will become a thriving part of your home landscape — just as my elm tree has become in mine!
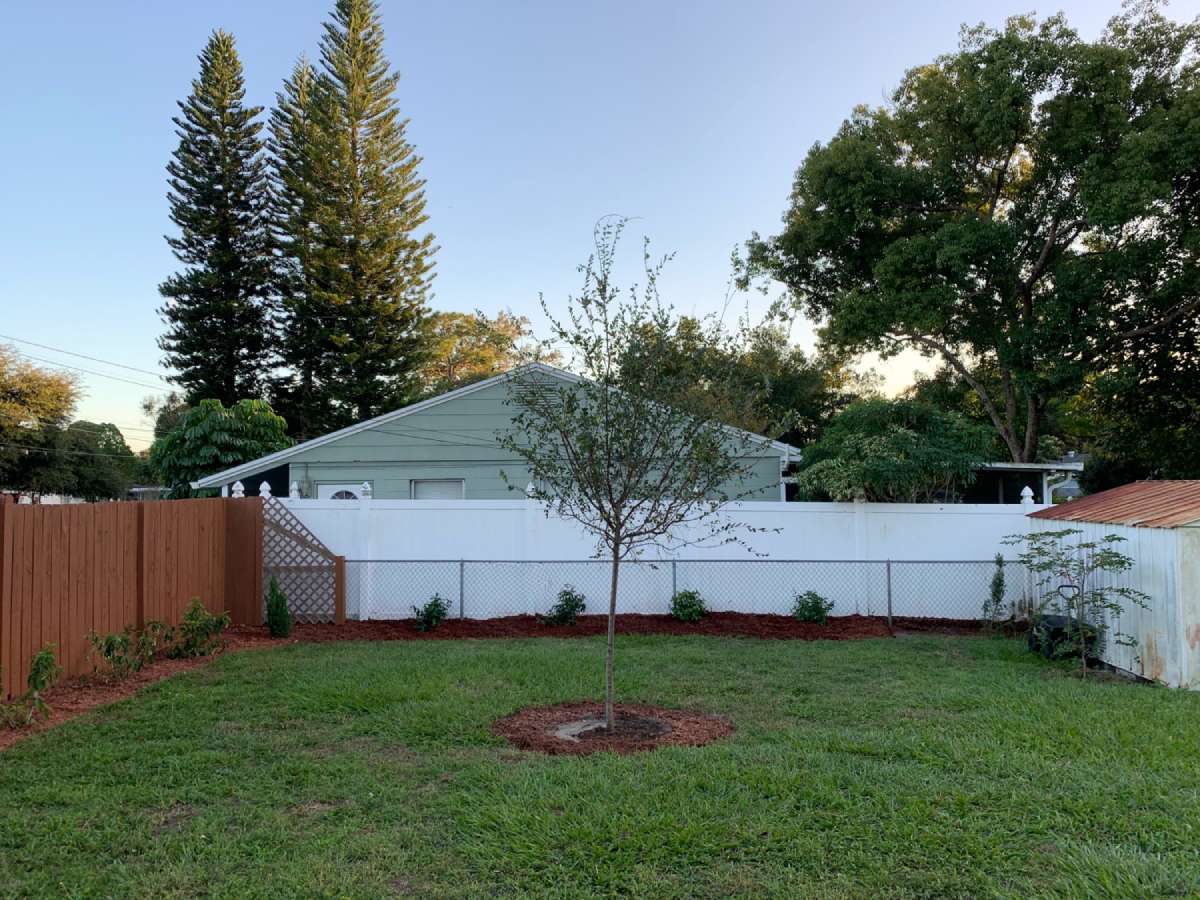
Here are a few keys for success when planting trees yourself, according to tree experts:
- Most landscape trees want well-drained soil. So, make sure your soil drains well… You can test this by digging a small hole in the soil (8″ to 12″ deep) and seeing if the water drains at a rate of about an inch an hour. If water is just sitting in the hole, this may not be good news for your tree — especially if it requires ample drainage. Either amend the soil around the tree or consider planting it in another location.
- Generally speaking, the wider you dig the hole for your new tree, the better. Planting a new tree in a nice, wide hole helps give the roots more room to spread out easily.
- But don’t dig the hole too deep! A tree planted too deep can develop any number of related problems and could die within a few years. You want to ensure that the crown of the trunk (the part right above the soil line at the tree root ball) is not lower than the soil line.
- Gently loosen any roots wrapped tightly around the outside of the rootball. Girdling roots, if left coiled around the rootball, could eventually choke the tree to death.
How Do You Care For A Newly Planted Tree?
Tree professionals stress the following:
Most important is the watering regime mentioned above. You need to start watering a newly planted tree right away — because the longer you wait between taking it out of the pot and watering it, the more the roots dry out and the worse your chances of a successful planting.
Be sure you place mulch around the tree (2 to 4 inches deep) to help retain moisture in the soil and prevent weed growth. But don’t place mulch directly against the trunk — this could lead to rot and other problems. And avoid piling the mulch too thick around the tree — too much mulch could suffocate the tree and impair proper growth of the tree’s root system.
Don’t poke support stakes into the root ball — this could hurt the tree! Also, keep bare wires or nylon strings away from directly touching the trunk, as this could cause rub wear on the wood and damage the tree. And be sure to remove stakes and wires as soon as possible to avoid the tree girdling itself around the support cables.
As for pruning your new tree… You should trim away all minor branch defects before you plant it in the ground. There’s no need to do any pruning during the first year as your new tree settles into its new home. Also keep in mind, trimming a tree in the middle of the growing season can significantly limit the tree’s growth potential next year.
Like this post? Share it with others on Pinterest:
*


